Connecting an IP Camera to a Router or Switch
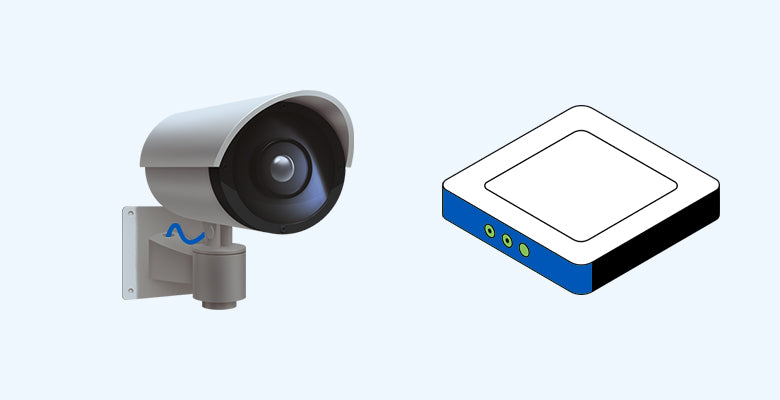
In today's interconnected world, the ability to monitor your home or workplace remotely is paramount. IP cameras offer a convenient solution for remote surveillance, but the setup process may seem daunting, especially for those new to technology. Fear not! In this user-friendly guide, we'll take you through each stage of incorporating an IP camera into your local area network (LAN), simplifying the process for everyone.
Power Up and Link
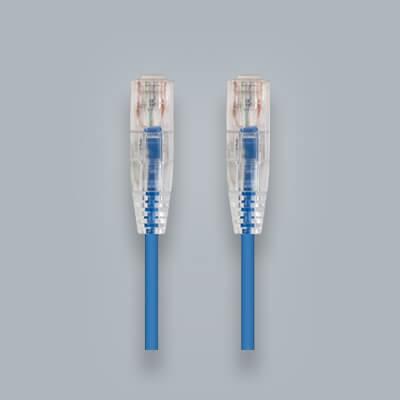
Let's start by connecting your IP camera to a power source and linking it to your network router using an Ethernet cable or switch. This basic connection enables your camera to communicate with other devices on your network and access the internet seamlessly.
Locate the IP Address
Now it's time to find the IP address of your camera. You can do this in two ways: through a network scanner app or by checking your router's DHCP client list. The network scanner app scans your network and presents a convenient list of connected devices and their corresponding IP addresses. Alternatively, accessing your router's settings allows you to view the DHCP client list and identify the IP address assigned to your camera.
Explore the Web Interface
Once you have the IP address, open your preferred web browser and enter the address as the URL. Voila! You'll be greeted with the camera's web interface, where you can perform various configurations.
Sign In and Secure
Next, log in to the camera's interface using the default username and password (refer to the camera manual for these details). Security is paramount, so consider changing these default credentials to enhance protection against unauthorized access.
Adjust Network Settings
Now, fine-tune the camera's network settings, including IP address, subnet mask, gateway, and DNS server. These adjustments ensure seamless communication between your camera and other devices on the network.
Enhance Video and Audio
It's time to delve into setting up your camera's video and audio features! Select your desired resolution, compression, and frame rate to optimize video quality. Don't overlook audio settings if your camera supports them.
Strengthen Security Measures
Secure your camera and its feed by configuring features such as passwords, encryption, and access restrictions. These measures provide an additional layer of defense against unauthorized access and ensure peace of mind.
Test and Fine-Tune
Before relaxing, conduct a thorough test of the connection and make any necessary adjustments to the settings. Once everything is functioning smoothly, you're ready to enjoy the convenience of remote monitoring with your new IP camera!
Disclaimer
While we've provided comprehensive guidance on IP camera setup, it's essential to note that each camera model may have specific setup instructions outlined in its manufacturer's guidebook. We highly recommend consulting the manual or guidebook provided by the camera manufacturer for detailed instructions. Our guide serves as general advice, but for the most accurate information, always refer to the manufacturer's documentation.
Leading IP Camera Brands:
- Arlo
- Nest
- Ring
- Wyze
- Hikvision
These brands offer diverse products with unique features and setup procedures. Refer to the specific documentation provided by the manufacturer of your chosen IP camera model for tailored instructions. Remember, your camera's manual contains model-specific details and troubleshooting tips that are invaluable during setup. By combining our guide with the manufacturer's instructions, you'll be well-prepared to set up your IP camera with confidence.
Happy installing!
