
Connecting a Gaming Console to a Router or Switch

Gaming consoles today depend on fast, reliable internet for smooth online gameplay, downloads, and streaming. While WiFi is convenient, using a wired Ethernet connection provides a more stable, low latency experience. In this guide, we’ll walk through how to properly connect your gaming console to a router or network switch for optimal performance.
Understanding Wired Gaming Connections
- Definition: A wired connection uses an Ethernet cable to link your console directly to your router or switch, bypassing WiFi interference. Learn more about LAN cables.
- Benefits: Faster speeds, lower latency (ping), and consistent connectivity essential for online multiplayer games and streaming services.
- Use Cases: Ideal for competitive gaming, large game downloads, 4K streaming, or households with multiple connected devices.
Choosing the Right Cable
For the best connection, use an Ethernet cable rated for your speed and environment:
- Cat5e Cable: Good for most home networks up to 1 Gbps.
- Cat6 Cable: Recommended for high speed or gigabit connections; reduces interference.
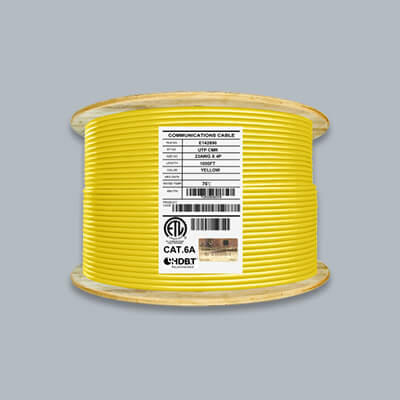
- Cat6A Cable: Best for future proofing and long distance runs; supports up to 10 Gbps.
Infinity Cable Products offers UL Listed, solid copper patch and bulk cables for both indoor and outdoor setups. For more guidance, read our guide on the best Ethernet cables for gaming.
Steps to Connect Your Gaming Console
-
Choose Location
Place your console near the router or switch for easy cable access. If distance is an issue, consider a longer Cat6 or Cat6A cable.
-
Hardware Setup
- Plug one end of your Ethernet cable into the LAN port on your gaming console.
- Connect the other end to an available LAN port on your router or network switch.
- Ensure your router or switch is powered on and connected to the internet.
-
Network Configuration
- On your console, open Network Settings and select Wired (LAN) Connection.
- Most systems (PlayStation, Xbox, Nintendo Switch Dock) automatically detect and configure the network.
- If needed, assign a static IP address for better control or port forwarding.
-
Test the Connection
- Run a connection test in your console’s settings to confirm internet access.
- Check for optimal download speed, upload speed, and latency.
Optimizing Your Setup
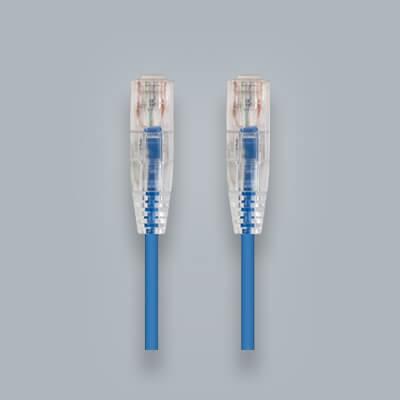
- Use Patch Cables for short, direct connections between your console and router.
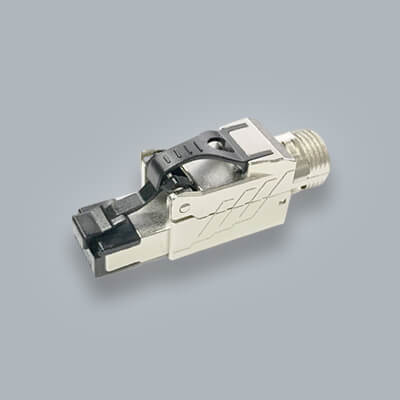
- Use Bulk Cable for custom runs through walls or longer distances; terminate with RJ45 connectors.
- Avoid Cable Bends: Keep cables loose and untangled to preserve signal integrity.
- Upgrade Hardware: If your router has limited ports, add a gigabit switch to connect multiple consoles or PCs.
Troubleshooting Tips
If your console doesn’t connect or shows poor speeds:
- Verify the Ethernet cable is securely connected at both ends.
- Restart the router, switch, and console.
- Test with another port or cable.
- Ensure your router’s firmware is up to date.
Conclusion
Connecting your gaming console to a router or switch with a quality Ethernet cable ensures the fastest, most stable online experience. Whether you’re playing competitively, streaming in 4K, or downloading large updates, a wired connection from Infinity Cable Products gives you consistent performance and peace of mind.
Disclaimer
While this guide covers general steps for most consoles, setup options may vary by model. Always refer to your console manufacturer’s manual for detailed instructions.
Clear steps on wiring your gaming console to a router or switch with Ethernet, choosing the right cable for stable speeds and low latency, plus helpful troubleshooting tips.