How to Upgrade from Cat5e to Cat6

Upgrading your network from Cat5e to Cat6 can help in enhancing your network performance, providing better speeds, higher bandwidth, and improved reliability. This guide will walk you through the process, covering everything from simple patch cable replacements to more involved tasks like rewiring within walls and connecting to outside cameras. We’ll also briefly explore the differences between Cat5e and Cat6, and how Cat6 is compatible with Cat5e.
1. Understanding Cat5e vs. Cat6
Cat5e (Category 5 enhanced) and Cat6 (Category 6) are two types of Ethernet cables used for networking. Here’s a comparison to help you understand the advantages of upgrading:
-
Speed and Bandwidth:
- Cat5e: Supports speeds up to 1 Gbps (Gigabit Ethernet) and a maximum bandwidth of 100 MHz. Shop Cat5e cables here.
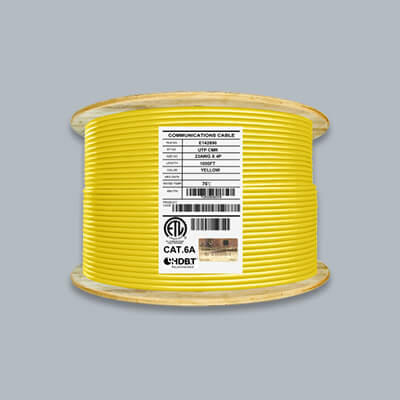
- Cat6: Supports speeds up to 10 Gbps over short distances (up to 55 meters) and a maximum bandwidth of 250 MHz. This makes Cat6 ideal for higher speed applications and future-proofing your network. Shop Cat6 cables here.
-
Crosstalk and Interference:
- Cat5e: Reduced crosstalk compared to standard Cat5, but still susceptible to interference.
- Cat6: Improved shielding and tighter twists in the cable reduce crosstalk and external interference, resulting in a more stable and reliable connection.
-
Distance:
- Cat5e: Suitable for distances up to 100 meters for Gigabit Ethernet.
- Cat6: Also supports 100 meters for 1 Gbps, but for 10 Gbps speeds, it’s effective up to 55 meters.
2. Replacing Patch Cables
Upgrading to Cat6 is straightforward when dealing with patch cables. Follow these steps:
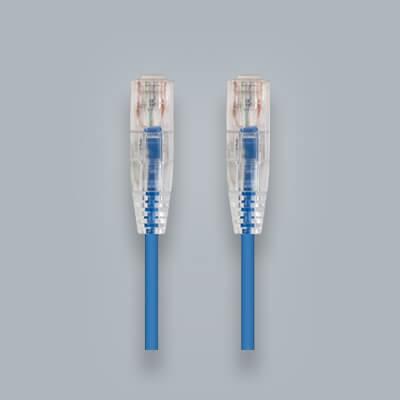
- Purchase Cat6 Patch Cables: Ensure you select the correct length and type (e.g., straight-through or crossover) for your setup. Check out our Cat6 patch cables for options.
- Disconnect Existing Cables: Remove the Cat5e patch cables from your networking equipment (routers, switches, and end devices). Visit our Cat5e patch cables if you need more details on older cables.
- Connect Cat6 Cables: Plug the new Cat6 patch cables into the same ports. Verify that connections are secure and that the cables are properly seated in the ports.
- Test the Connection: Use a network cable tester to ensure that the new cables are functioning correctly and that there are no issues with the signal.
3. Rewiring Within Walls
For a more comprehensive upgrade, such as replacing in-wall cabling, follow these steps:
- Plan the Upgrade: Determine which runs of Cat5e cable need to be replaced with Cat6. Make a list of all locations where cables are terminated, including wall outlets, patch panels, and network equipment.
- Prepare the Workspace: Turn off power to any electrical outlets near the cabling work to ensure safety. Use a stud finder to avoid drilling into electrical wires or plumbing.
- Remove Old Cables: Carefully pull out the existing Cat5e cables from wall conduits or cable runs. Label the ends if needed to ensure you connect them correctly.
- Install Cat6 Cables: Run the new Cat6 cables through the same pathways as the old cables. Use cable guides to avoid kinking or damaging the cables. Ensure that the cables are properly secured and do not exceed the maximum bend radius specified by the manufacturer.
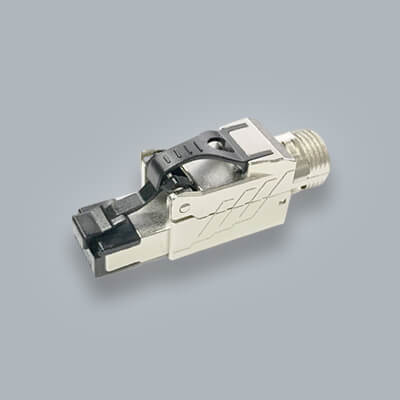
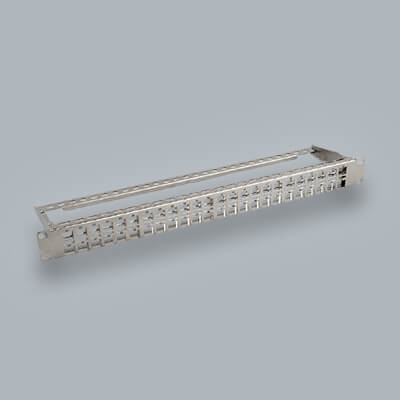
- Terminate New Cables: Attach the Cat6 cables to keystone jacks, patch panels, or other termination points using the appropriate tools and techniques for Cat6 cabling.
- Test the Installation: Use a cable tester to verify the integrity of the new Cat6 connections and ensure they meet performance standards. You can find suitable tools here.
4. Upgrading External Connections
If you have Ethernet cables running to external cameras or other outdoor equipment, follow these steps:
- Check Existing Cabling: Inspect the Cat5e cables connected to your outdoor cameras or equipment. Determine if they need to be replaced or if you can simply upgrade the connection points.
- Replace Cables as Needed: For outdoor installations, use Cat6 cables rated for outdoor use (e.g., with UV-resistant jackets). You can find suitable outdoor cables here.
- Secure and Test: Ensure that outdoor cables are properly sealed and protected from environmental factors. Test the connections to confirm that they are functioning correctly and providing the desired performance improvements.
5. Cat6 Compatibility with Cat5e
One of the benefits of upgrading to Cat6 is its backward compatibility with Cat5e. Here’s how this works:
- Connector Compatibility: Cat6 cables use the same RJ45 connectors as Cat5e. This means you can plug Cat6 cables into Cat5e ports and vice versa.
- Network Equipment: You can connect Cat6 cables to devices that only support Cat5e. The devices will operate at the Cat5e standard, but you’ll benefit from improved performance when connecting to Cat6-capable equipment.
- Future-Proofing: By upgrading to Cat6, you’re preparing your network for future higher-speed standards. Even if some of your equipment is still Cat5e, your infrastructure will be ready for upgrades.
By following this guide, you can effectively upgrade from Cat5e to Cat6, improving your network’s speed, reliability, and overall performance. Whether you're replacing patch cables or undertaking a full rewire, this upgrade will provide long-term benefits and future-proof your network.


